If you are reading this blog post via a 3rd party source it is very likely that many parts of it will not render correctly (usually, the interactive graphs). Please view the post on dogesec.com for the full interactive viewing experience.
tl;dr
Your intel gathering techniques are second-to-none. They are a result of years spent honing your craft. People want access to the data you’re curating.
And then you get bogged down with the question; can you build an integration to product X? Where X is different for every-single-one of your customers.
Cue weeks spent building these product integrations, neglecting the research that sets you apart, at the end of which the product you’re building and integration to has changed their API so you’re back to square one, and so the cycle continues.
When designing dogesec tools, we spent a lot of time actively trying to avoid falling into this trap.
This post is designed to outline our thought processes on this journey, and how you can achieve the same.
STIX as a data format for your intel
If you’ve followed this blog for any period of time, you’ll know that all the intelligence we produce is structured as STIX 2.1 objects.
The reason for this is simple; many other security tools natively understand STIX 2.1 including big names like Microsoft and Palo Alto Networks.
As such, our recommendation is you go down this route too.
If you’re new to STIX, I’d recommend taking a look at my old STIX posts to try an understand why;
- A Beginners Guide to STIX 2.1 Objects
- A Quick-start Guide for the STIX 2 Python Library
- Creating Your Own Custom STIX Objects
One of our tools, txt2stix, will also make the journey from converting your intelligence to STIX 2.1 objects simple.
At it’s most basic, you can pass a list of IoCs, and ask txt2stix to convert them into STIX 2.1 objects as follows;
The file iocs.txt:
1.1.1.1
example.com
[email protected]
The txt2stix command:
python3 txt2stix.py \
  --relationship_mode standard \
  --input_file iocs.txt \
  --name 'iocs.txt' \
  --tlp_level clear \
  --confidence 100 \
  --use_extractions 'pattern_*' \
  --report_id d7bd2cf2-b89c-4165-8909-f843f49a14dd
The bundle produced:
You can also use txt2stix to process entire intelligence reports, where txt2stix will not only convert the data into STIX 2.1 objects, but also accurately represent the relationships between these objects as described in the original report.
The file report.txt:
Victims receive spear phishing emails with from [email protected] malicious zip files attached named badfile.zip

Due to password protection, the zip files are able to bypass some AV detections.

The zip files are extracted and usually contain a malicious document, such as a .doc, .pdf, or .xls. Some examples are malware.pdf and bad.com

The extracted files contain malicious macros that connect to a C2 server 1.1.1.1
The txt2stix command:
python3 txt2stix.py \
    --relationship_mode ai \
    --ai_settings_relationships openai:gpt-4o \
    --input_file tests/data/manually_generated_reports/attack_flow_demo.txt \
    --name 'dogesec blog att&ck extractions' \
    --tlp_level clear \
    --confidence 100 \
    --use_extractions ai_mitre_attack_enterprise,ai_ipv4_address_only,ai_url,ai_file_name,ai_email_address \
    --ai_settings_extractions openai:gpt-4o \
    --report_id e376e33c-e427-4d7c-afc4-7204e556e7a3
The bundle produced:
You should also read my post, Turn Reports into Structured Threat Intelligence, for more txt2stix examples.
Graph Databases to store your STIX objects
STIX 2.1 has a concept of a bundles, as you’ve seen above. Put simply; a bundle is a JSON wrapper for STIX objects.
Bundling all objects around a theme in a single JSON file makes it very easy to share. In txt2stix a bundle is created for each file entered, containing all the STIX objects extracted from it.
This works nicely when curating distinct intelligence reports, however, if you’re producing intelligence these bundles can often grow quickly as new information is identified. Similarly, you’ll likely be publishing the same objects (e.g. observed IP addresses) across numerous reports.
Thus, having this data in a database makes for easier storage and retrieval. As STIX is represented in a graph structure, it clearly makes sense to use a graph database.
If you have used any of our tools you will know we use ArangoDB to store STIX objects. I won’t explain why we chose ArangoDB here, because this post from Sekoia explains perfectly.
The good news; ArangoDB supports JSON objects by default (which is how STIX objects are constructed).
The bad; additional logic is required to…
- to separate graph vertices and edges (STIX objects and relationships respectively)
- perform updated to STIX objects already in the database
- handle embedded references (in
_refand_refsproperties, e.g.object_refs) to other STIX objects
To do this, we built a lightweight wrapper called stix2arango that deals with this logic.
stix2arango will take a bundle of STIX objects and insert into ArangoDB correctly.
Once you’ve installed stix2arango as described here, you can add the report.txt created earlier by file2txt;
python3 stix2arango.py \
  --file bundle--e376e33c-e427-4d7c-afc4-7204e556e7a3.json \
  --database blog_demo \
  --collection intel_reports \
  --stix2arango_note "A Producers Guide to Sharing Cyber Threat Intelligence" \
  --ignore_embedded_relationships false \
  --ignore_embedded_relationships_sro true \
  --ignore_embedded_relationships_smo true
For more information about how this command is constructed and further options available for other use-cases, check the stix2arango documentation.
I’ll jump straight to the ArangoDB query interface to show you how you can retrieve this data once it’s imported.
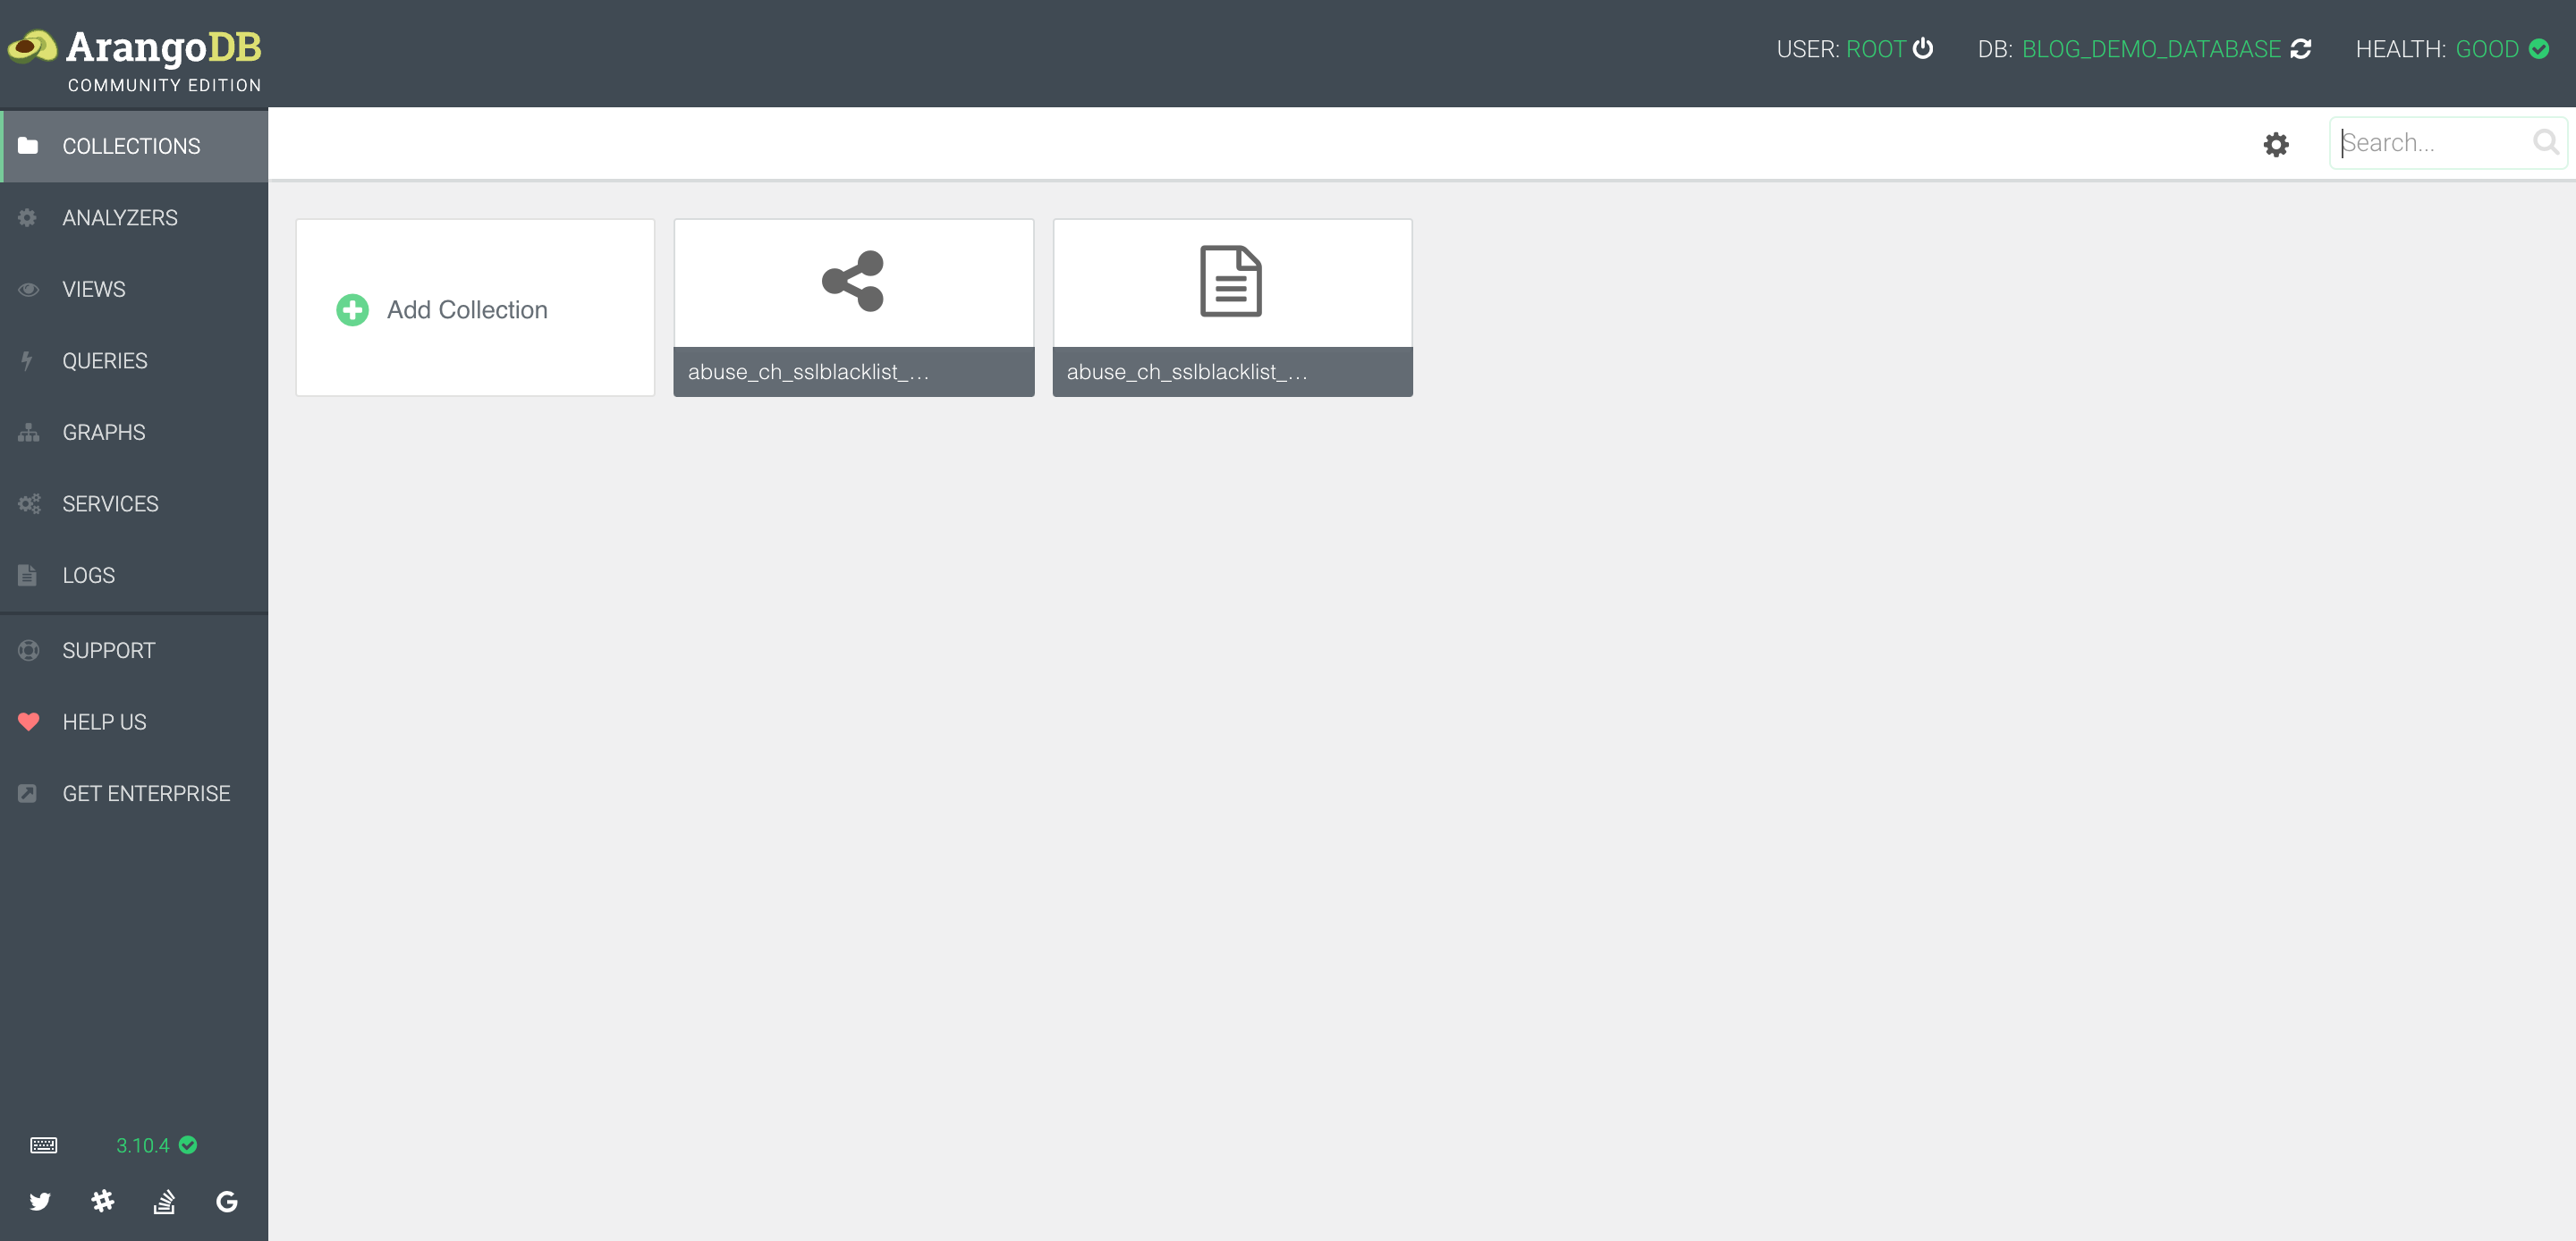
Above, you can see stix2arango has split the objects into two collections, one representing the STIX SDOs and SCOs intel_reports_vertex_collection (vertices), the other covering the relationships intel_reports_edge_collection (edges) between them.
I can now use the Arango Query Language (AQL) to search, filter and retrieve the STIX objects.
A simple query could be to return all ipv4-addr objects in the database.
FOR doc IN intel_reports_vertex_collection
  FILTER doc.type == "ipv4-addr"
  RETURN doc
Which returns;
[
  {
    "_key": "ipv4-addr--cbd67181-b9f8-595b-8bc3-3971e34fa1cc+2025-03-12T10:33:16.763171Z",
    "_id": "intel_reports_vertex_collection/ipv4-addr--cbd67181-b9f8-595b-8bc3-3971e34fa1cc+2025-03-12T10:33:16.763171Z",
    "_rev": "_jWlojei--K",
    "type": "ipv4-addr",
    "spec_version": "2.1",
    "id": "ipv4-addr--cbd67181-b9f8-595b-8bc3-3971e34fa1cc",
    "value": "1.1.1.1",
    "_bundle_id": "bundle--e376e33c-e427-4d7c-afc4-7204e556e7a3",
    "_file_name": "bundle--e376e33c-e427-4d7c-afc4-7204e556e7a3.json",
    "_stix2arango_note": "A Producers Guide to Sharing Cyber Threat Intelligence",
    "_record_md5_hash": "69a44611c7077b062a2c2301858b88ee",
    "_is_latest": true,
    "_record_created": "2025-03-12T10:33:16.763171Z",
    "_record_modified": "2025-03-12T10:33:16.763171Z"
  }
]
You’ll see a lot of properties prefixed with _. These are not STIX 2.1 properties. They are properties added by ArangoDB or stix2arango which can be useful for further database queries.
You can get ArangoDB to return the pure STIX 2.1 object as follows;
FOR doc IN intel_reports_vertex_collection
  FILTER doc.type == "ipv4-addr"
  LET keysToKeep = ATTRIBUTES(doc, true)[* FILTER NOT CURRENT LIKE "_%"]  // Find keys that do NOT start with "_"
  RETURN [KEEP(doc, keysToKeep)]
[
  [
    {
      "id": "ipv4-addr--cbd67181-b9f8-595b-8bc3-3971e34fa1cc",
      "spec_version": "2.1",
      "type": "ipv4-addr",
      "value": "1.1.1.1"
    }
  ]
]
However, using ArangoDB to query the relationships is where the real value of using a graph database is realised.
Let me first find the report object created by txt2stix, as this is linked to many objects;
FOR doc IN intel_reports_vertex_collection
  FILTER doc.type == "report"
  LET keysToKeep = ATTRIBUTES(doc, true)[* FILTER NOT CURRENT LIKE "_%"]  // Find keys that do NOT start with "_"
  RETURN [KEEP(doc, keysToKeep)]
[
  [
    {
      "confidence": 100,
      "created": "2025-02-23T14:21:02.353343Z",
      "created_by_ref": "identity--f92e15d9-6afc-5ae2-bb3e-85a1fd83a3b5",
      "description": "Victims receive spear phishing emails with from [email protected] malicious zip files attached named badfile.zip\n\nDue to password protection, the zip files are able to bypass some AV detections.\n\nThe zip files are extracted and usually contain a malicious document, such as a .doc, .pdf, or .xls. Some examples are malware.pdf and bad.com\n\nThe extracted files contain malicious macros that connect to a C2 server 1.1.1.1",
      "external_references": [
        {
          "source_name": "txt2stix_report_id",
          "external_id": "e376e33c-e427-4d7c-afc4-7204e556e7a3"
        },
        {
          "source_name": "txt2stix Report MD5",
          "description": "3b7111ec29624062a2f36925fc6694a0"
        }
      ],
      "id": "report--e376e33c-e427-4d7c-afc4-7204e556e7a3",
      "modified": "2025-02-23T14:21:02.356184Z",
      "name": "dogesec blog att&ck extractions",
      "object_marking_refs": [
        "marking-definition--94868c89-83c2-464b-929b-a1a8aa3c8487",
        "marking-definition--f92e15d9-6afc-5ae2-bb3e-85a1fd83a3b5"
      ],
      "object_refs": [
        "indicator--51ae8ec8-5c84-53e4-8a3b-33ac1279da0d",
        "email-addr--78b7af49-a1ce-5776-90fd-e6dd8629ec61",
        "relationship--d68cf0d9-c838-5885-be89-09f905378aae",
        "indicator--4e41dc2a-1a6d-519e-aef4-8e2df619e196",
        "file--c8ef7b07-fdcf-5a50-9dc7-64cc9328ff9f",
        "relationship--ff08ece3-b2c0-50cf-b267-47a8472e527d",
        "indicator--d938b728-e85d-56ac-ba42-0c39351e8935",
        "file--f75a65c3-7bfc-505b-b394-a217f3d82d15",
        "relationship--39e38c52-664f-5589-a4b5-501a270b0a1e",
        "indicator--aff9883c-98a3-51e7-8966-caf5505faa42",
        "file--39e890d8-6c3e-52d0-89e8-bac14f6a84b8",
        "relationship--6a1e45d5-b298-5356-9e7e-123c462087dd",
        "indicator--40ea8ed7-f64f-5575-9849-bad60e3dc08b",
        "ipv4-addr--cbd67181-b9f8-595b-8bc3-3971e34fa1cc",
        "relationship--495925c0-6d0c-5df3-8d6c-acdf998dbd74",
        "attack-pattern--2e34237d-8574-43f6-aace-ae2915de8597",
        "attack-pattern--be2dcee9-a7a7-4e38-afd6-21b31ecc3d63",
        "attack-pattern--d1fcf083-a721-4223-aedf-bf8960798d62",
        "attack-pattern--e6919abc-99f9-4c6c-95a5-14761e7b2add",
        "relationship--657e4c50-d76a-571e-9f85-89ef2ec4108d",
        "relationship--e1e29e77-7ab9-5671-97c9-e5c656313a0f",
        "relationship--976ccffe-e809-59ed-84c4-379a9811f5e8",
        "relationship--366d3a01-a7de-5d1d-ba16-1181a312c7ca",
        "relationship--82ab2633-8e1e-5eed-8b10-6e0ba0b724a9",
        "relationship--e0e9cda3-959d-5ee4-a984-e2bddbec0b52",
        "relationship--14e836e0-433c-512e-87f1-ca2aa394c790",
        "relationship--073f39a0-3281-58e5-a4b6-2c292a5d73c6",
        "relationship--a09872df-fcac-5967-b852-7b92ef889d52",
        "relationship--02937e50-798a-516a-95b8-70bf14620320",
        "relationship--7c7d24c2-18ac-5b8d-aae5-18869a93d802"
      ],
      "published": "2025-02-23T14:21:02.356163Z",
      "spec_version": "2.1",
      "type": "report"
    }
  ]
]
To find out what objects have a relationship to this one (report--e376e33c-e427-4d7c-afc4-7204e556e7a3) either as source or target, I can query the edges as follows;
FOR edge IN intel_reports_edge_collection
  FILTER (edge.source_ref == "report--e376e33c-e427-4d7c-afc4-7204e556e7a3" OR edge.target_ref == "report--e376e33c-e427-4d7c-afc4-7204e556e7a3")
  RETURN edge
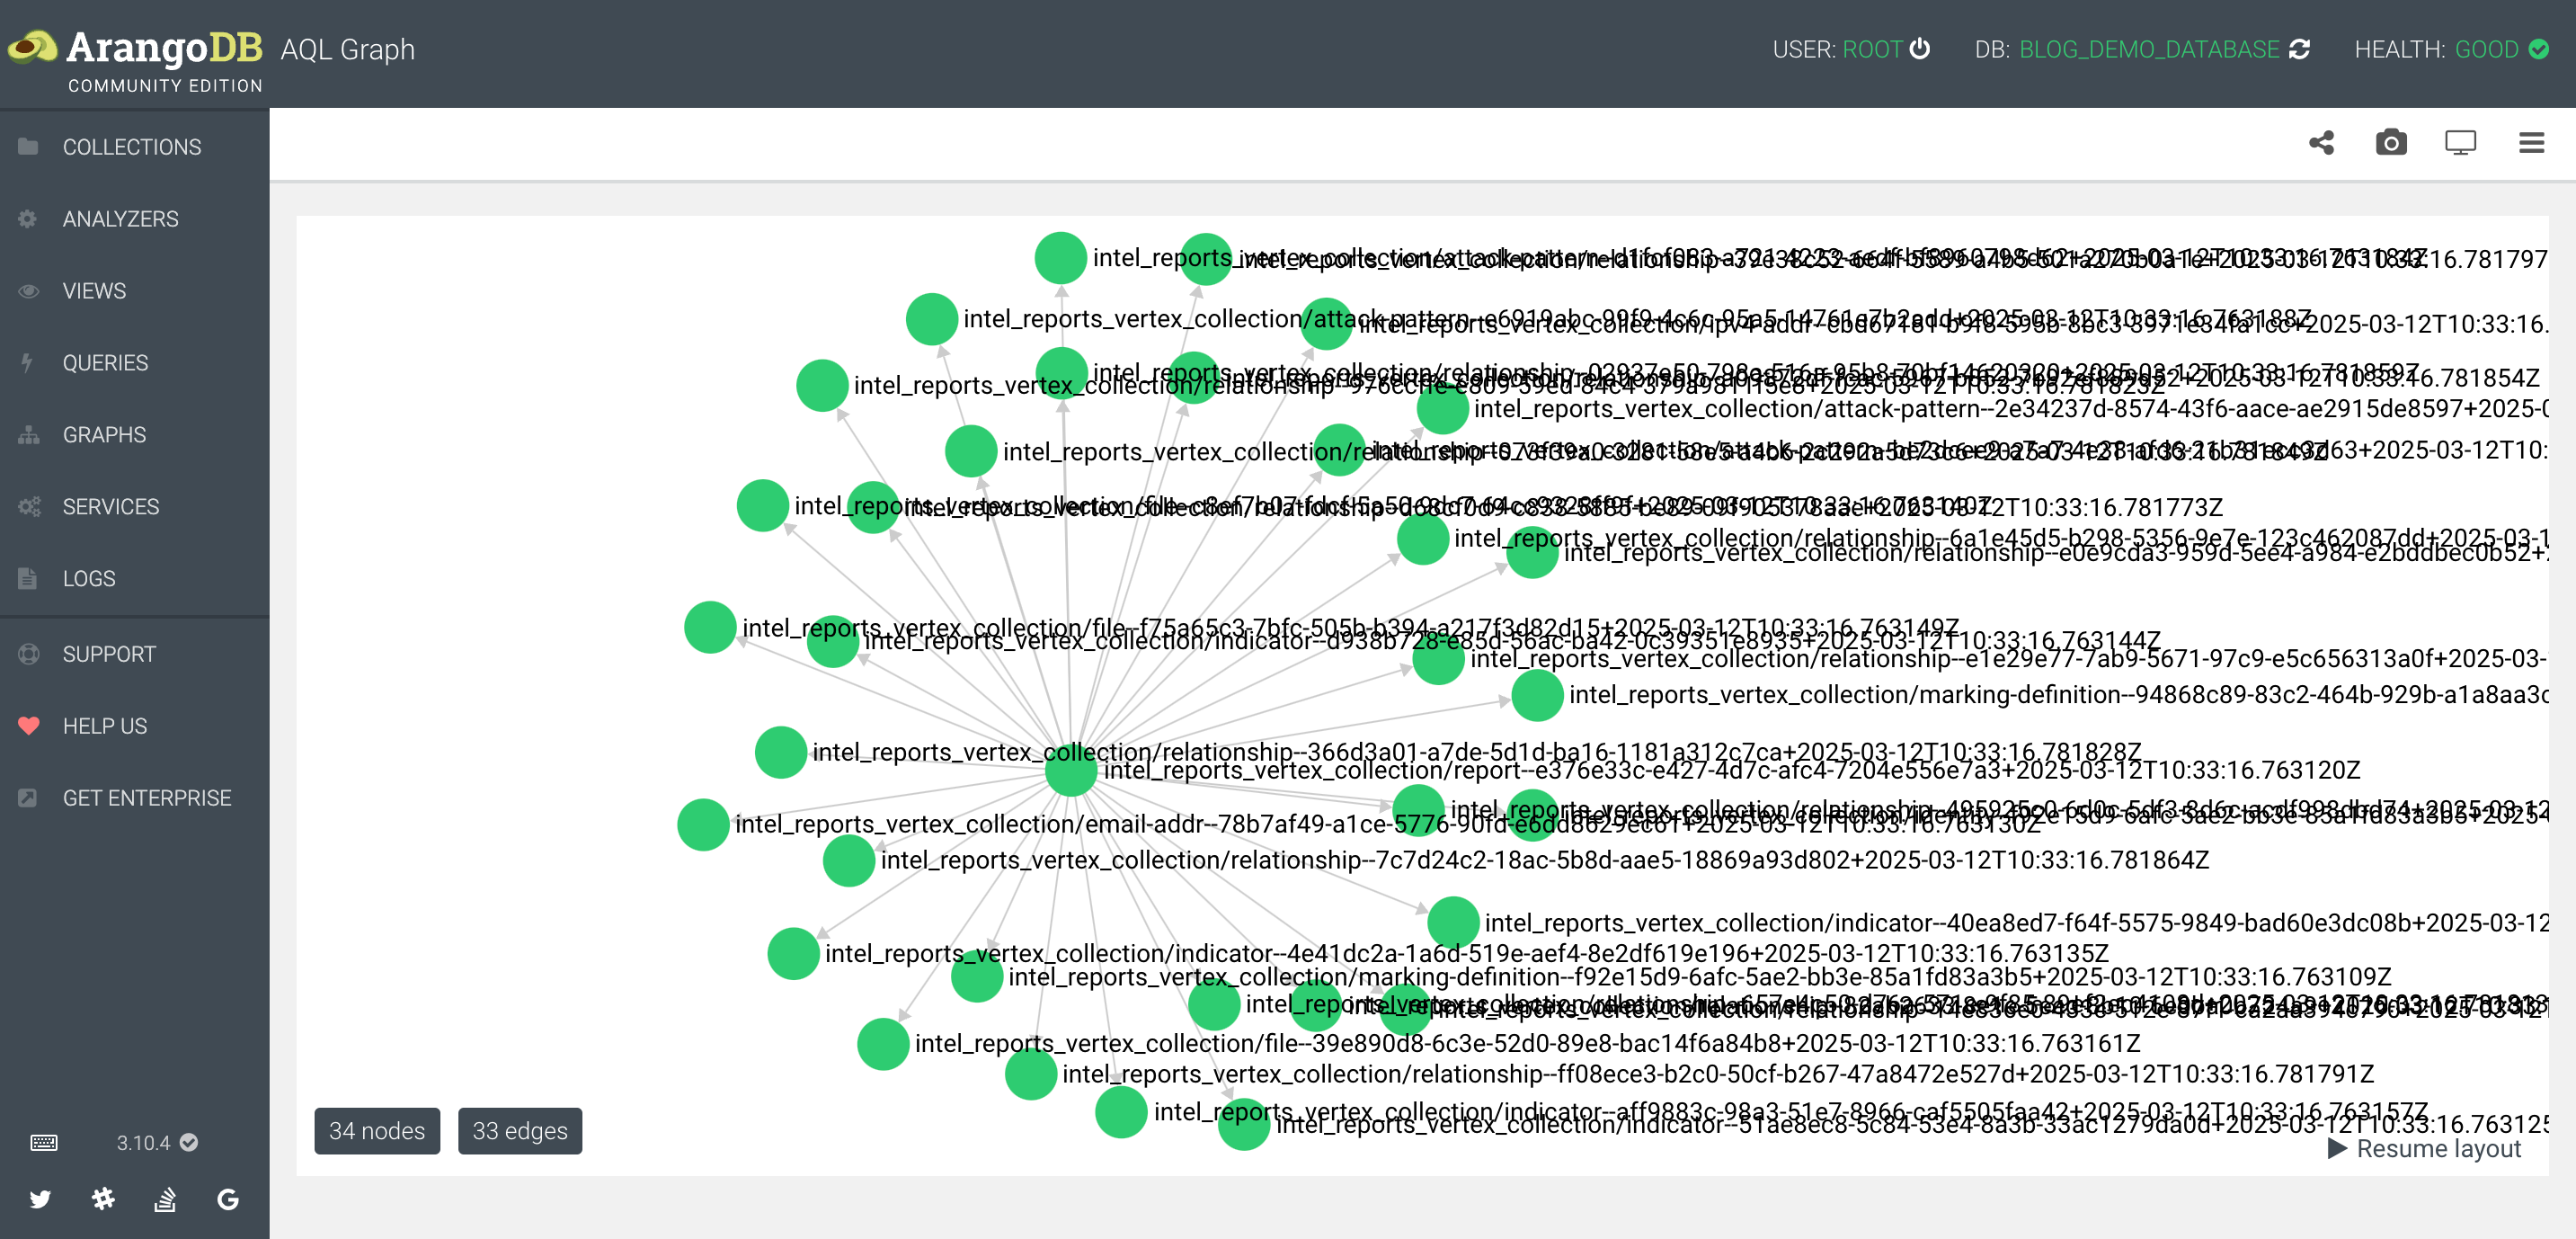
Here you can start to see the benefits of having the data in a graph structure. In the middle is the Report Object linked to all the objects it has either a normal STIX or embedded STIX relationship with.
The JSON objects that make up this graph look as follows;
[
  {
    "_key": "relationship--8a99238b-26e7-53f4-a07b-02f1ffba43ca+2025-03-12T10:33:16.806140Z",
    "_id": "intel_reports_edge_collection/relationship--8a99238b-26e7-53f4-a07b-02f1ffba43ca+2025-03-12T10:33:16.806140Z",
    "_from": "intel_reports_vertex_collection/report--e376e33c-e427-4d7c-afc4-7204e556e7a3+2025-03-12T10:33:16.763120Z",
    "_to": "intel_reports_vertex_collection/attack-pattern--2e34237d-8574-43f6-aace-ae2915de8597+2025-03-12T10:33:16.763175Z",
    "_rev": "_jWlojju--D",
    "created_by_ref": "identity--72e906ce-ca1b-5d73-adcd-9ea9eb66a1b4",
    "relationship_type": "object",
    "created": "2025-02-23T14:21:02.353343Z",
    "modified": "2025-02-23T14:21:02.356184Z",
    "object_marking_refs": [
      "marking-definition--94868c89-83c2-464b-929b-a1a8aa3c8487",
      "marking-definition--f92e15d9-6afc-5ae2-bb3e-85a1fd83a3b5"
    ],
    "id": "relationship--8a99238b-26e7-53f4-a07b-02f1ffba43ca",
    "source_ref": "report--e376e33c-e427-4d7c-afc4-7204e556e7a3",
    "target_ref": "attack-pattern--2e34237d-8574-43f6-aace-ae2915de8597",
    "_bundle_id": "bundle--e376e33c-e427-4d7c-afc4-7204e556e7a3",
    "_file_name": "",
    "_stix2arango_note": "A Producers Guide to Sharing Cyber Threat Intelligence",
    "_record_created": "2025-03-12T10:33:16.803937",
    "_record_modified": "2025-03-12T10:33:16.806140Z",
    "_is_ref": true,
    "type": "relationship",
    "spec_version": "2.1",
    "_stix2arango_ref_err": false,
    "_record_md5_hash": "182bd9b21432d689137c8ad171c89b6b",
    "_is_latest": true,
    "_target_type": "attack-pattern",
    "_source_type": "report"
  },
These queries are very simple. AQL does allow for much more advance query logic to which becomes very useful when dealing with lots of reports.
However, lets be honest; your consumers don’t want to learn AQL to retrieve your intelligence.
TAXII as a way to distribute your intelligence
Nor do they want to have to understand a custom API you’ve built to surface these objects.
And perhaps most importantly; neither do you want to build such an API.
That’s where TAXII comes in.
In short the TAXII specification defines a single API for sharing threat intelligence. The idea being that all upstream and downstream technology can be built to support one standard, versus many individual API designs.
A TAXII Server is responsible for storing and distributing the intel. A TAXII Client consumes and posts intel from and to a TAXII server.
For sharing intelligence a TAXII Server is what’s needed.
We have built our own TAXII implementation on top of ArangoDB removing the need for you to have to write the logic yourself, it’s called Arango TAXII Server.
Follow the Arango TAXII Server docs to get it up and running.
In the next post I’ll show you how to setup Arango TAXII Server and connect TAXII Clients to it.
In summary
- use the stix2 Python library to create intel (or use txt2stix)
- import it to ArangoDB using stix2arango
- expose it using Arango TAXII Server
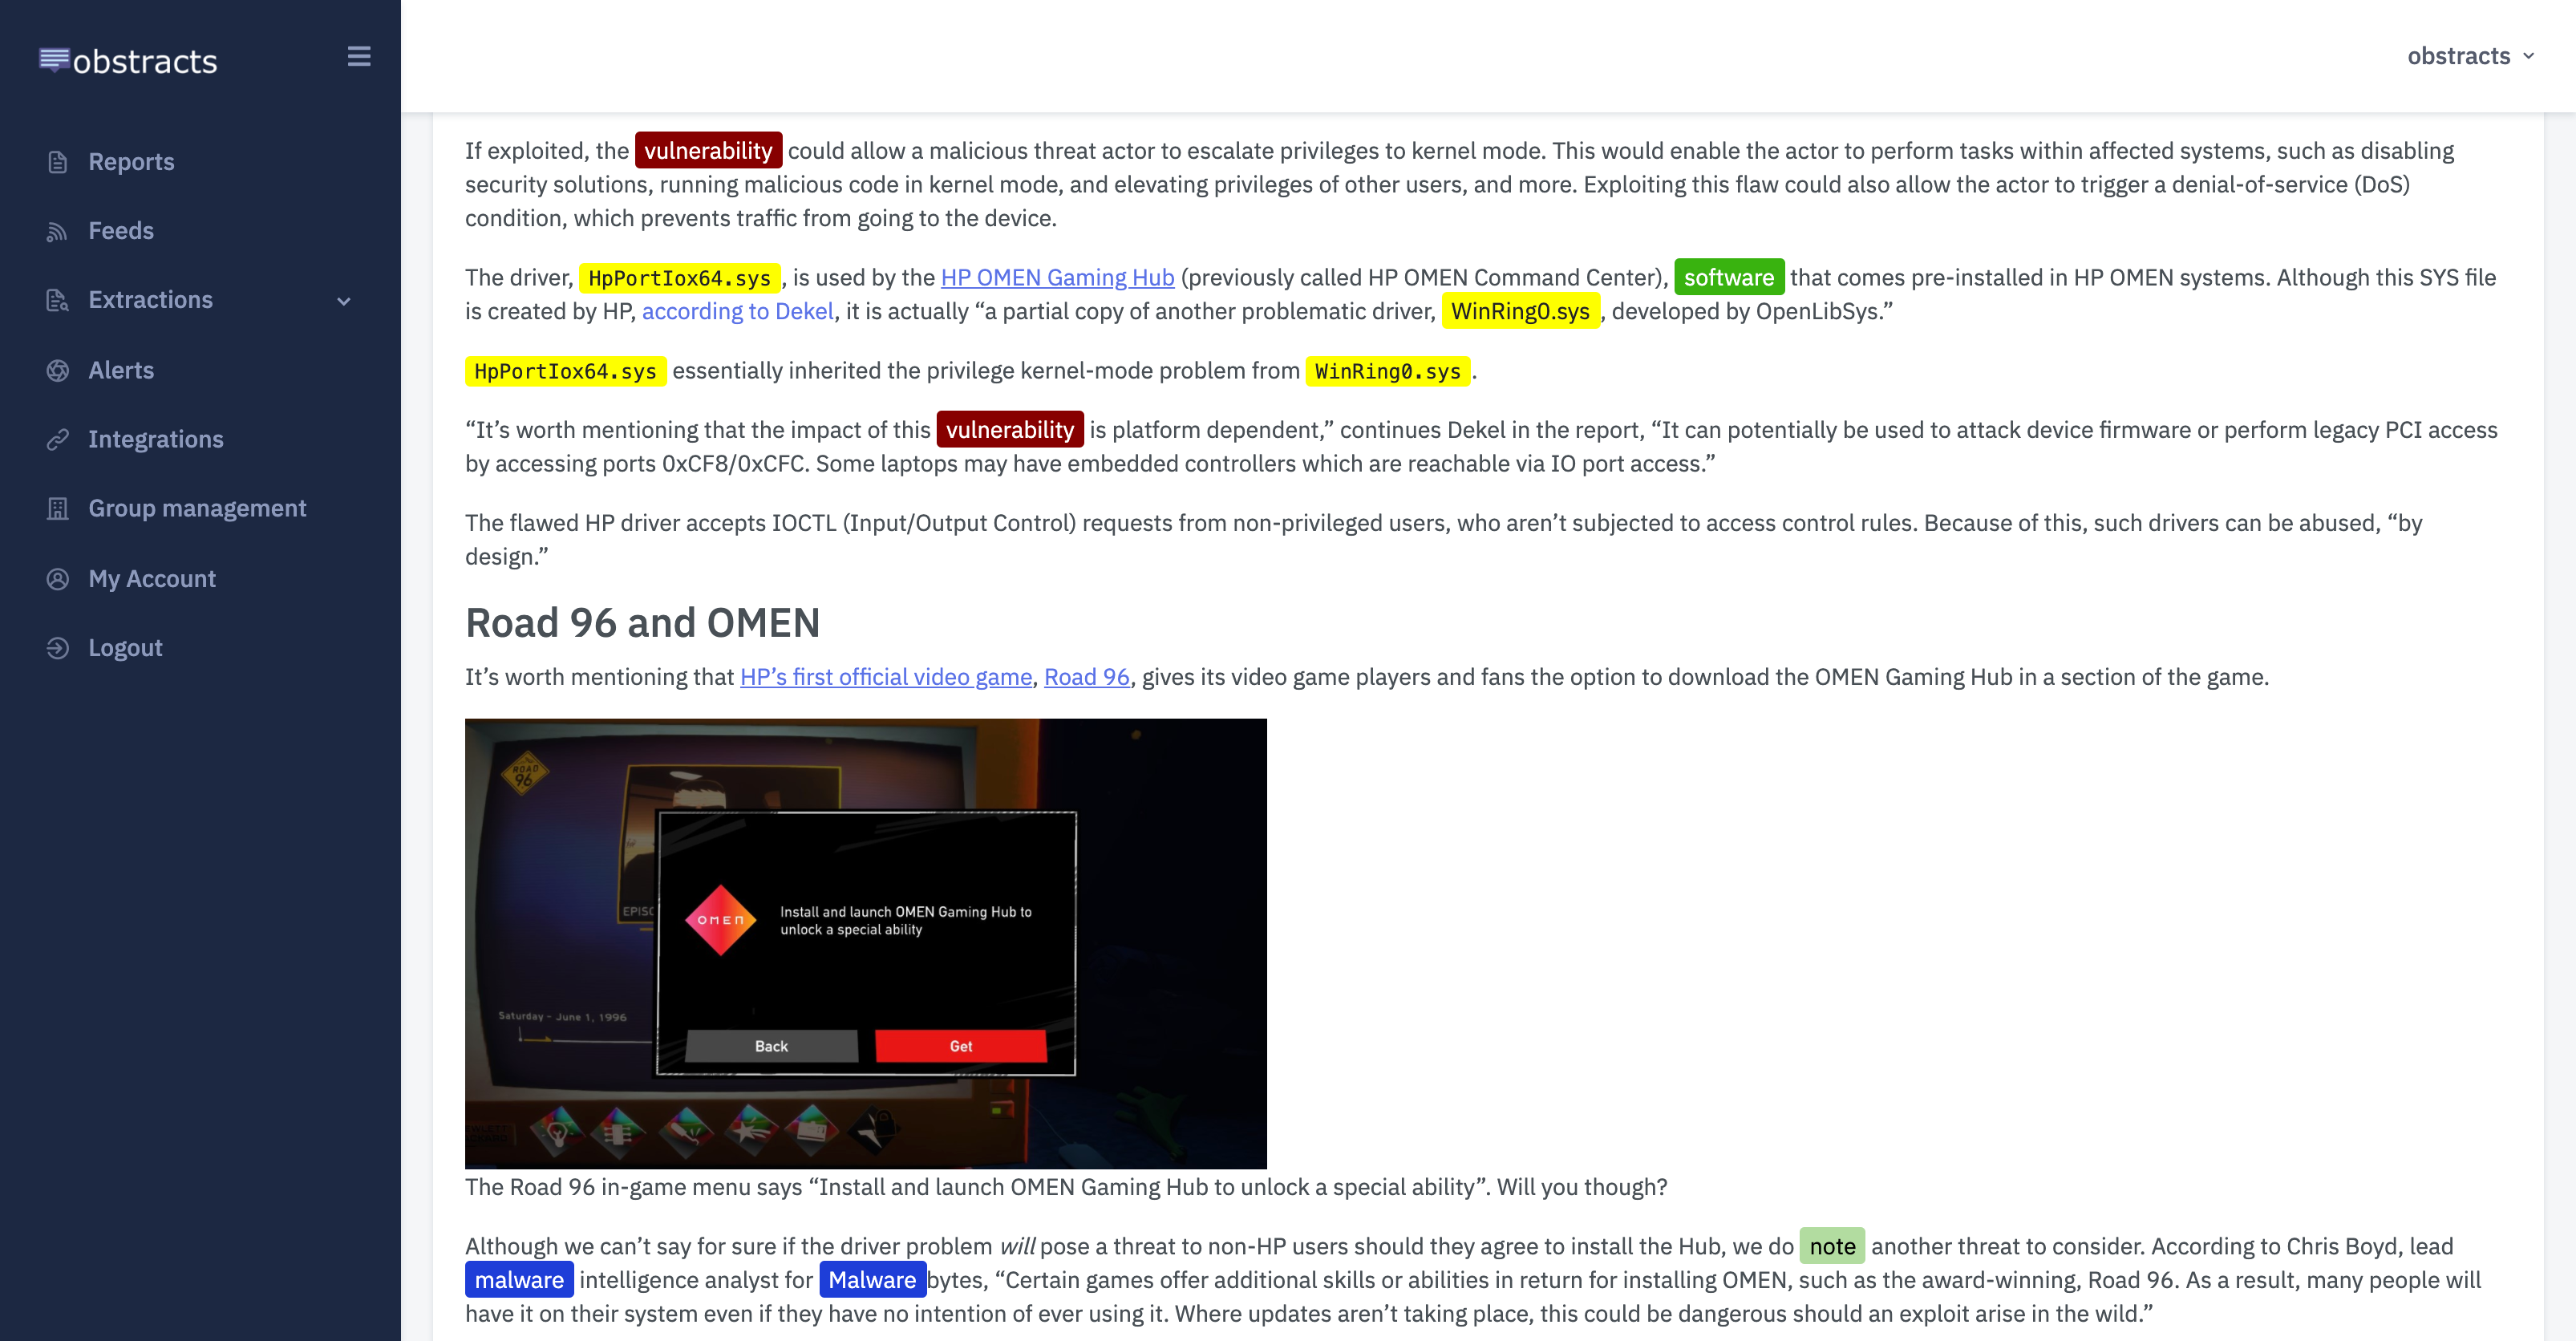
Obstracts
The RSS reader for threat intelligence teams. Turn any blog into machine readable STIX 2.1 data ready for use with your security stack.
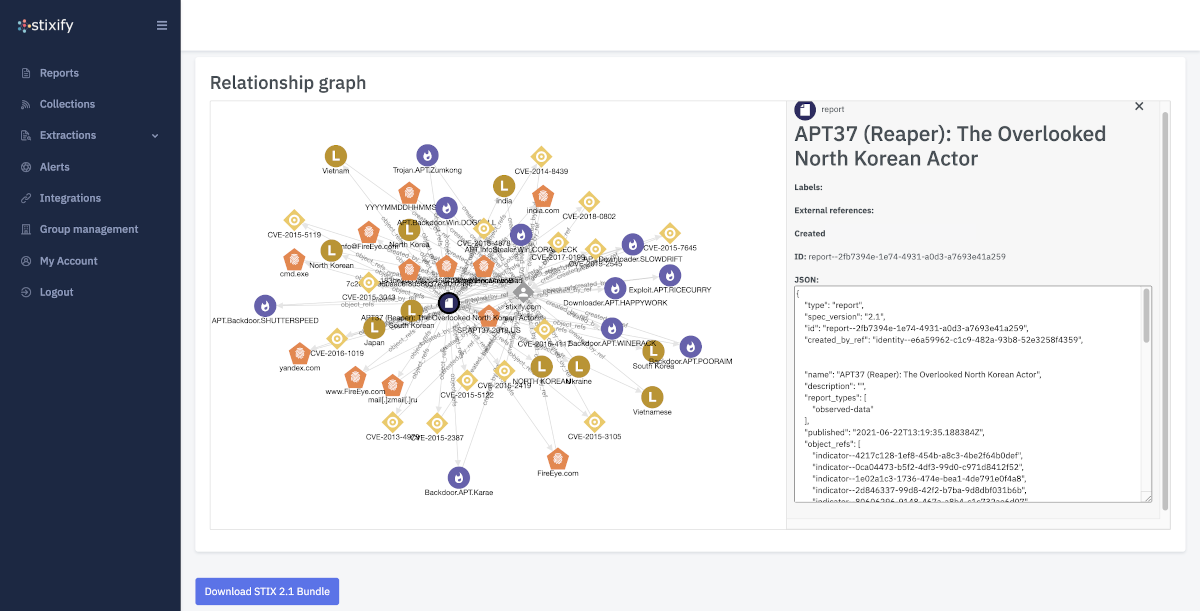
Stixify
Your automated threat intelligence analyst. Extract machine readable STIX 2.1 data ready for use with your security stack.
Discuss this post
Head on over to the dogesec community to discuss this post.
Never miss an update
Sign up to receive new articles in your inbox as they published.
